Wednesday, October 26, 2011

GPB - Super Custom Zaku F2000 WIP part 2

 Ok. As promised, here's a little tip for sanding. You can use one from a chick boutique. Its a good thing i have my wife to hunt these.

 Going back to our WIP, here's a shot from where we left off.

Side view
 Moving forward, i started on the feet.

 Then work up with the leg part.

Side view with the completed legs.
 Top view.

Then after a while, arms and hands we're completed.

Though the head has little articulation to almost nothing, this guy is one big bad boy!
 Now, lets build the weps.

 I found it amusing to have this axe/halberd assembled first. It reminds me of "Accretian" from the RF Online game.

Some action poses.
Shoulder has visible seamline, that needs to be covered in another WIP.

Ready for action.

Close up view.
Some hauls from our October 23 meetup of GM's.
Water slide for RX-0, even if it didnt arrived yet.

Thanks for watching


Friday, October 21, 2011

GPB - Super Custom Zaku F2000 WIP


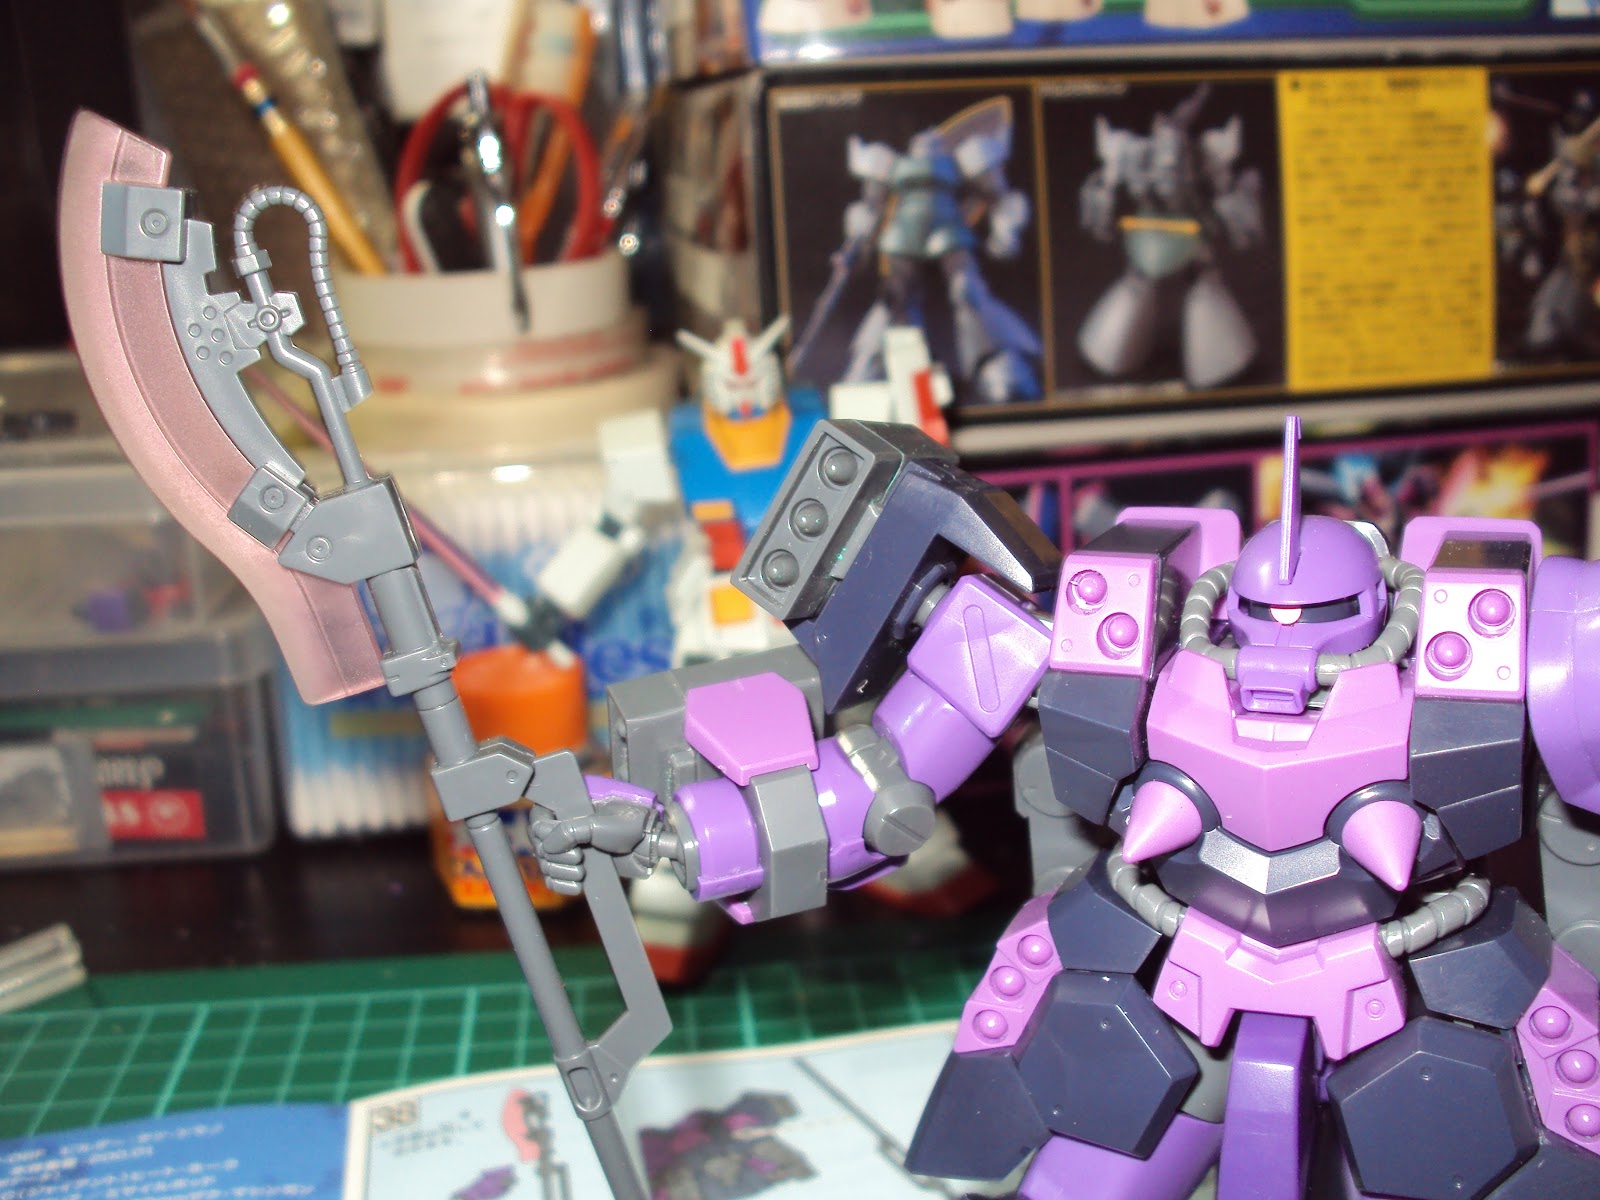
Alright, unboxing my Zaku F2000 after a week long training..


Prepared the tools for opening and cutting from sprues..


I always have the polycaps on my side for easier access when needed.


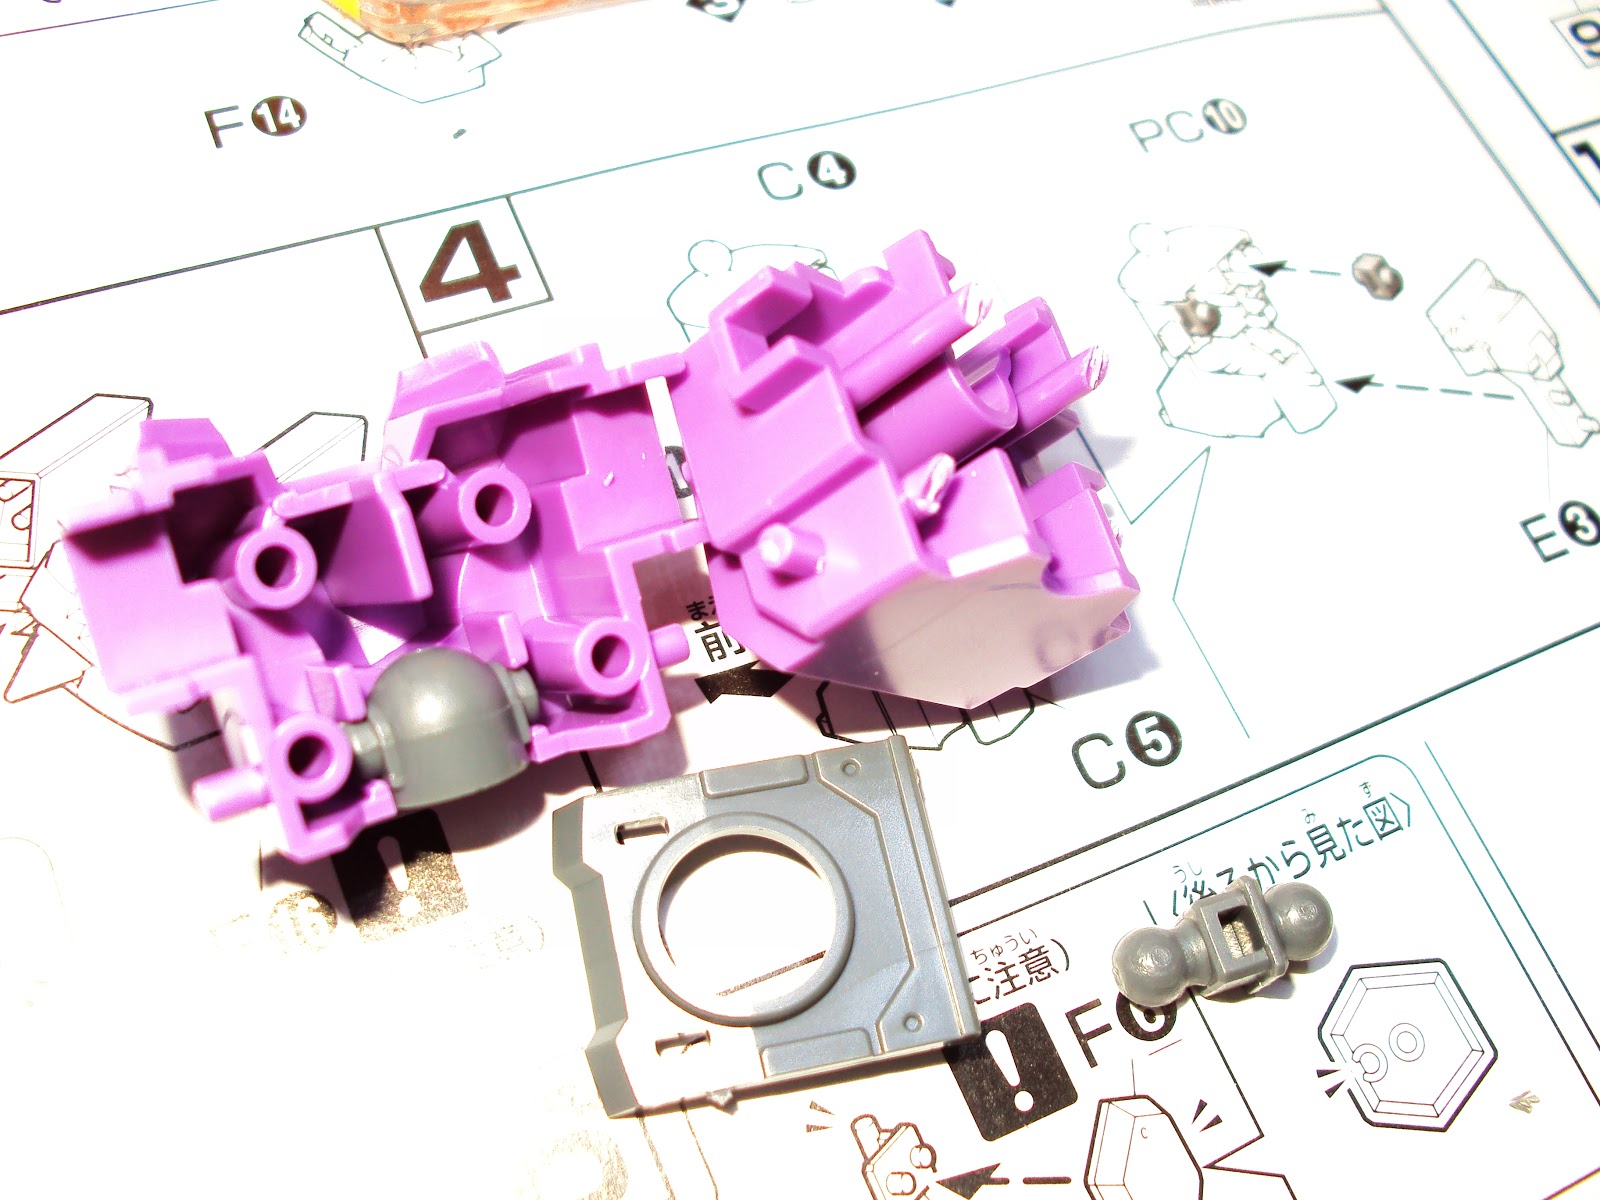
First up, the chest.. i have learned a lesson to trim those pegs so it wont be hard to take them apart when applying cement and covering seamlines.


Here's another view.. a 45 degree angle is enough.. just don't cut too much or those parts will fall apart easily.


So before snapping them together, prepare the parts that are needed to see on whether to sand those nubmarks or just easily hide them with another armor or part.


Another angle so that you can see those pegs which has been cut at 45 degrees..


Don't mind my hobby knife, it looks rusty but its as sharp as a razor.. maybe i have to use some sewing machine oil to prevent those pesky rust..


When you cut one from the sprue, make sure to cut as far away as you can. This helps to avoid stress mark..


By using your cutter, trim off excess but leave enough space for shaving using your hobby knife.


I haven't noticed those spots on my thumb nail, i did some spray painting earlier.. forgot to use a glove, coz i'm still trying to learn the art of gayflick jutsu..


Its better to start sanding with a 600 grit, then 800 or 1000 , then 1500 or 2000 grit.. its a step by step process so that you can eliminate any sandmarks created by the lower grit... you can go up to 2500 but then, its all up to you, unless you're going to paint it.


Here's a close-up view, sanded and clean of nubs..


I noticed that Zaku's on an HG scale does have small parts, and its kinda hard to clean them off those nub marks. Be careful not to drop those small ones, finding them is more tedious than cleaning 'em.


As i said, i have to include a review on how i remove those nub marks by showing you some screenshot. Unfortunately, i need to replenish my sanding material but as soon as i have them, i'll keep it posted here.


Since i'm out of those sanding material, i opt to finish this one as soon as i have them here.


For now, here's the chest and waist though still incomplete..


I noticed that my Grandpa Zaku's rockets where out of commission on these shots. Charge it to my frustation to hold this activity.


Oh and yeah, finally, i bought an action base for my RF.. but for now, while waiting for Sinanju's stand.. i'll let Sinanju fly in the skies..


Thanks for watching..

Friday, October 14, 2011

October hauls.. part 3


I started Zaku, torso first and then the head. This time, its weapons will be the last..


Sanding is still the best approach in removing nub marks.. but i have a new technique with sanding. Will post that on my next WIP.


Got half of the arms finished. After sanding, i do try some panel lining work in there, so that while im doing the other arm, it will be dry and ready.


Arms are ready, now time for the legs.


Im still amazed on how the shield was designed.. so i took a shot of it before snap fitting.


One Cute Zaku avatar..


After quite a few hours later (completed the kit at around 6am, just got home from a NA shift @4am).. finally, old Zaku glorified poses.


I cut my thumb accidentally, but hey, after work+just got home+early morning+tired & sleepy, let's charge it to experience. ^^


I tried to create an effect on this picture.. ^^


Now, all i need is to learn how to cover/remove seam lines (HG's has a lot of them), might grab the Tamiya Thin cement and start from there.. and it needs a lot of panel lining too.


Just giving a heads up, this group can help you a lot in your gunpla experience.


So I'm wearing it here today, coz im one hell proud of being a [GM] Gunpla Meister member!!!!


Thanks for watching.. next stop, the GPB F2000 Zaku.. ^^


Thursday, October 13, 2011

October hauls.. part 2

 Got this from Ninong Toys @ facebook.. ZakuF2000 is one huge kit for 1/144 scale

 When i first saw RX-O from my friend Emer, i was amazed on how gunpla have improved over the years.

 At the same time, i found Soundwave on sale at TK Megamall. Now i have completed my Cybertronian series which includes Optimus Prime, Bumblebee and Megatron. ^^

 That same afternoon, quite not that sunny, i started applying my Gayflick Jutsu skill on the vfin of SD Red Frame. Sanded it first because the first time i tried it without the jutsu style, its an epic failure.

 Though i didnt know that it helps to warm-up Bosny's clear gloss before applying, i tried to clean the nozzle first by spraying that can, upside-down.

 At first i thought it will be my second failure as i noticed it was kind of grainy, its true that patience is a virtue. A couple of minutes later, one shiny V-fin is done.

 At night, i started unboxing Starter Set 1.

I was amazed on that tiny shield, and its color. Though the color for RX-78 and Zaku looks pale, this make it looks like a cool addition to my collection.


 I forgot to take a shot when i was halfway through, started on the torso and head then. By the way, i always start building the weps then progress on the torso and head.

 The next day, i started building the legs.. then arms later.


Whew.. now that's my first RX-78, "grandfather of all gundams" (not sure, as i did not watch any of the older series aside from the 3 Unicorn movies) but i guess, this one is all over the place. Next step, the first Zaku..
Thanks for watching.. ^^